It’s fall y’all! Do I really need to give you a reason for homemade marshmallows that are also Paleo and AIP friendly? Well, I’ll give you a few anyway. They’re melt in your mouth delicious! For some folks autumn means it’s camping season, for others it’s the beginning of hot cocoa season. But also, if you are the coffee drinking type, drop a few on top of your brew. Trust me. You can thank me later!
These marshmallows are seriously so yummy! And I don’t feel the least bit guilty popping a few in my mouth or giving my daughter seconds (or thirds) when she asks for s’more. 😉 (Psst, pair with my Paleo, AIP graham cracker recipe for s’mores).
Pro Tip: these homemade marshmallows melt faster than the ole conventional store-bought ones you likely grew up with. When roasting over a fire, have your grahams close and ready for the marshmallows. They do not need as much heat to begin melting.

Homemade Marshmallow Ingredients
- Coconut oil or avocado oil for greasing the dish
- ½ cup cold water
- 3 tablespoon gelatin powder (I use the Great Lakes brand in an orange container)
- 1/3 cup honey
- ½ cup water
- Splash of Vanilla extract (about ½ tsp)
- Arrowroot powder for dusting the marshmallows (optional but recommended)
- Special equipment: electric whisk (or stand mixer)
Homemade Marshmallow Directions
- Line an 8×8 or 9×9 inch pan with parchment paper. Grease the parchment paper with avocado oil (or coconut oil). You can also use a 13×9 inch dish for shorter marshmallows.
- In a large mixing bowl, prepare the gelatin by sprinkling it over 1/2 cup of cold water.
- Meanwhile, in a pot on the stove, heat up the other 1/2 cup of water and the honey. Make sure the honey is well mixed with the water, but don’t let it boil too much. As soon as it starts to bubble, turn off the heat.
- Begin to whisk the gelatin mixture with an electric whisk or stand mixer. Start slowly and then increase the whisking speed to high. Slowly add in the hot honey mixture to the mixing bowl.
- Keep whisking for around 10 minutes. The mixture should be white and creamy looking. Add in a splash of vanilla.
- Continue mixing until it doubles in size and becomes really thick, like marshmallow fluff (another 5-10 minutes, depending on whisk speed).
- Stop mixing if the marshmallows begin clinging to the whisk, forming a stiff ball of fluff around the whisk. You want the fluff to make soft peaks, not too hard to pour into your container.
- Pour the marshmallow fluff into the prepared container. Use your spatula to spread it out evenly. (If it’s already stiff and sticky, it’ll still turn out delicious – just push it into the shape you want with your spatula). Refrigerate for 5+ hours for the gelatin to properly set.
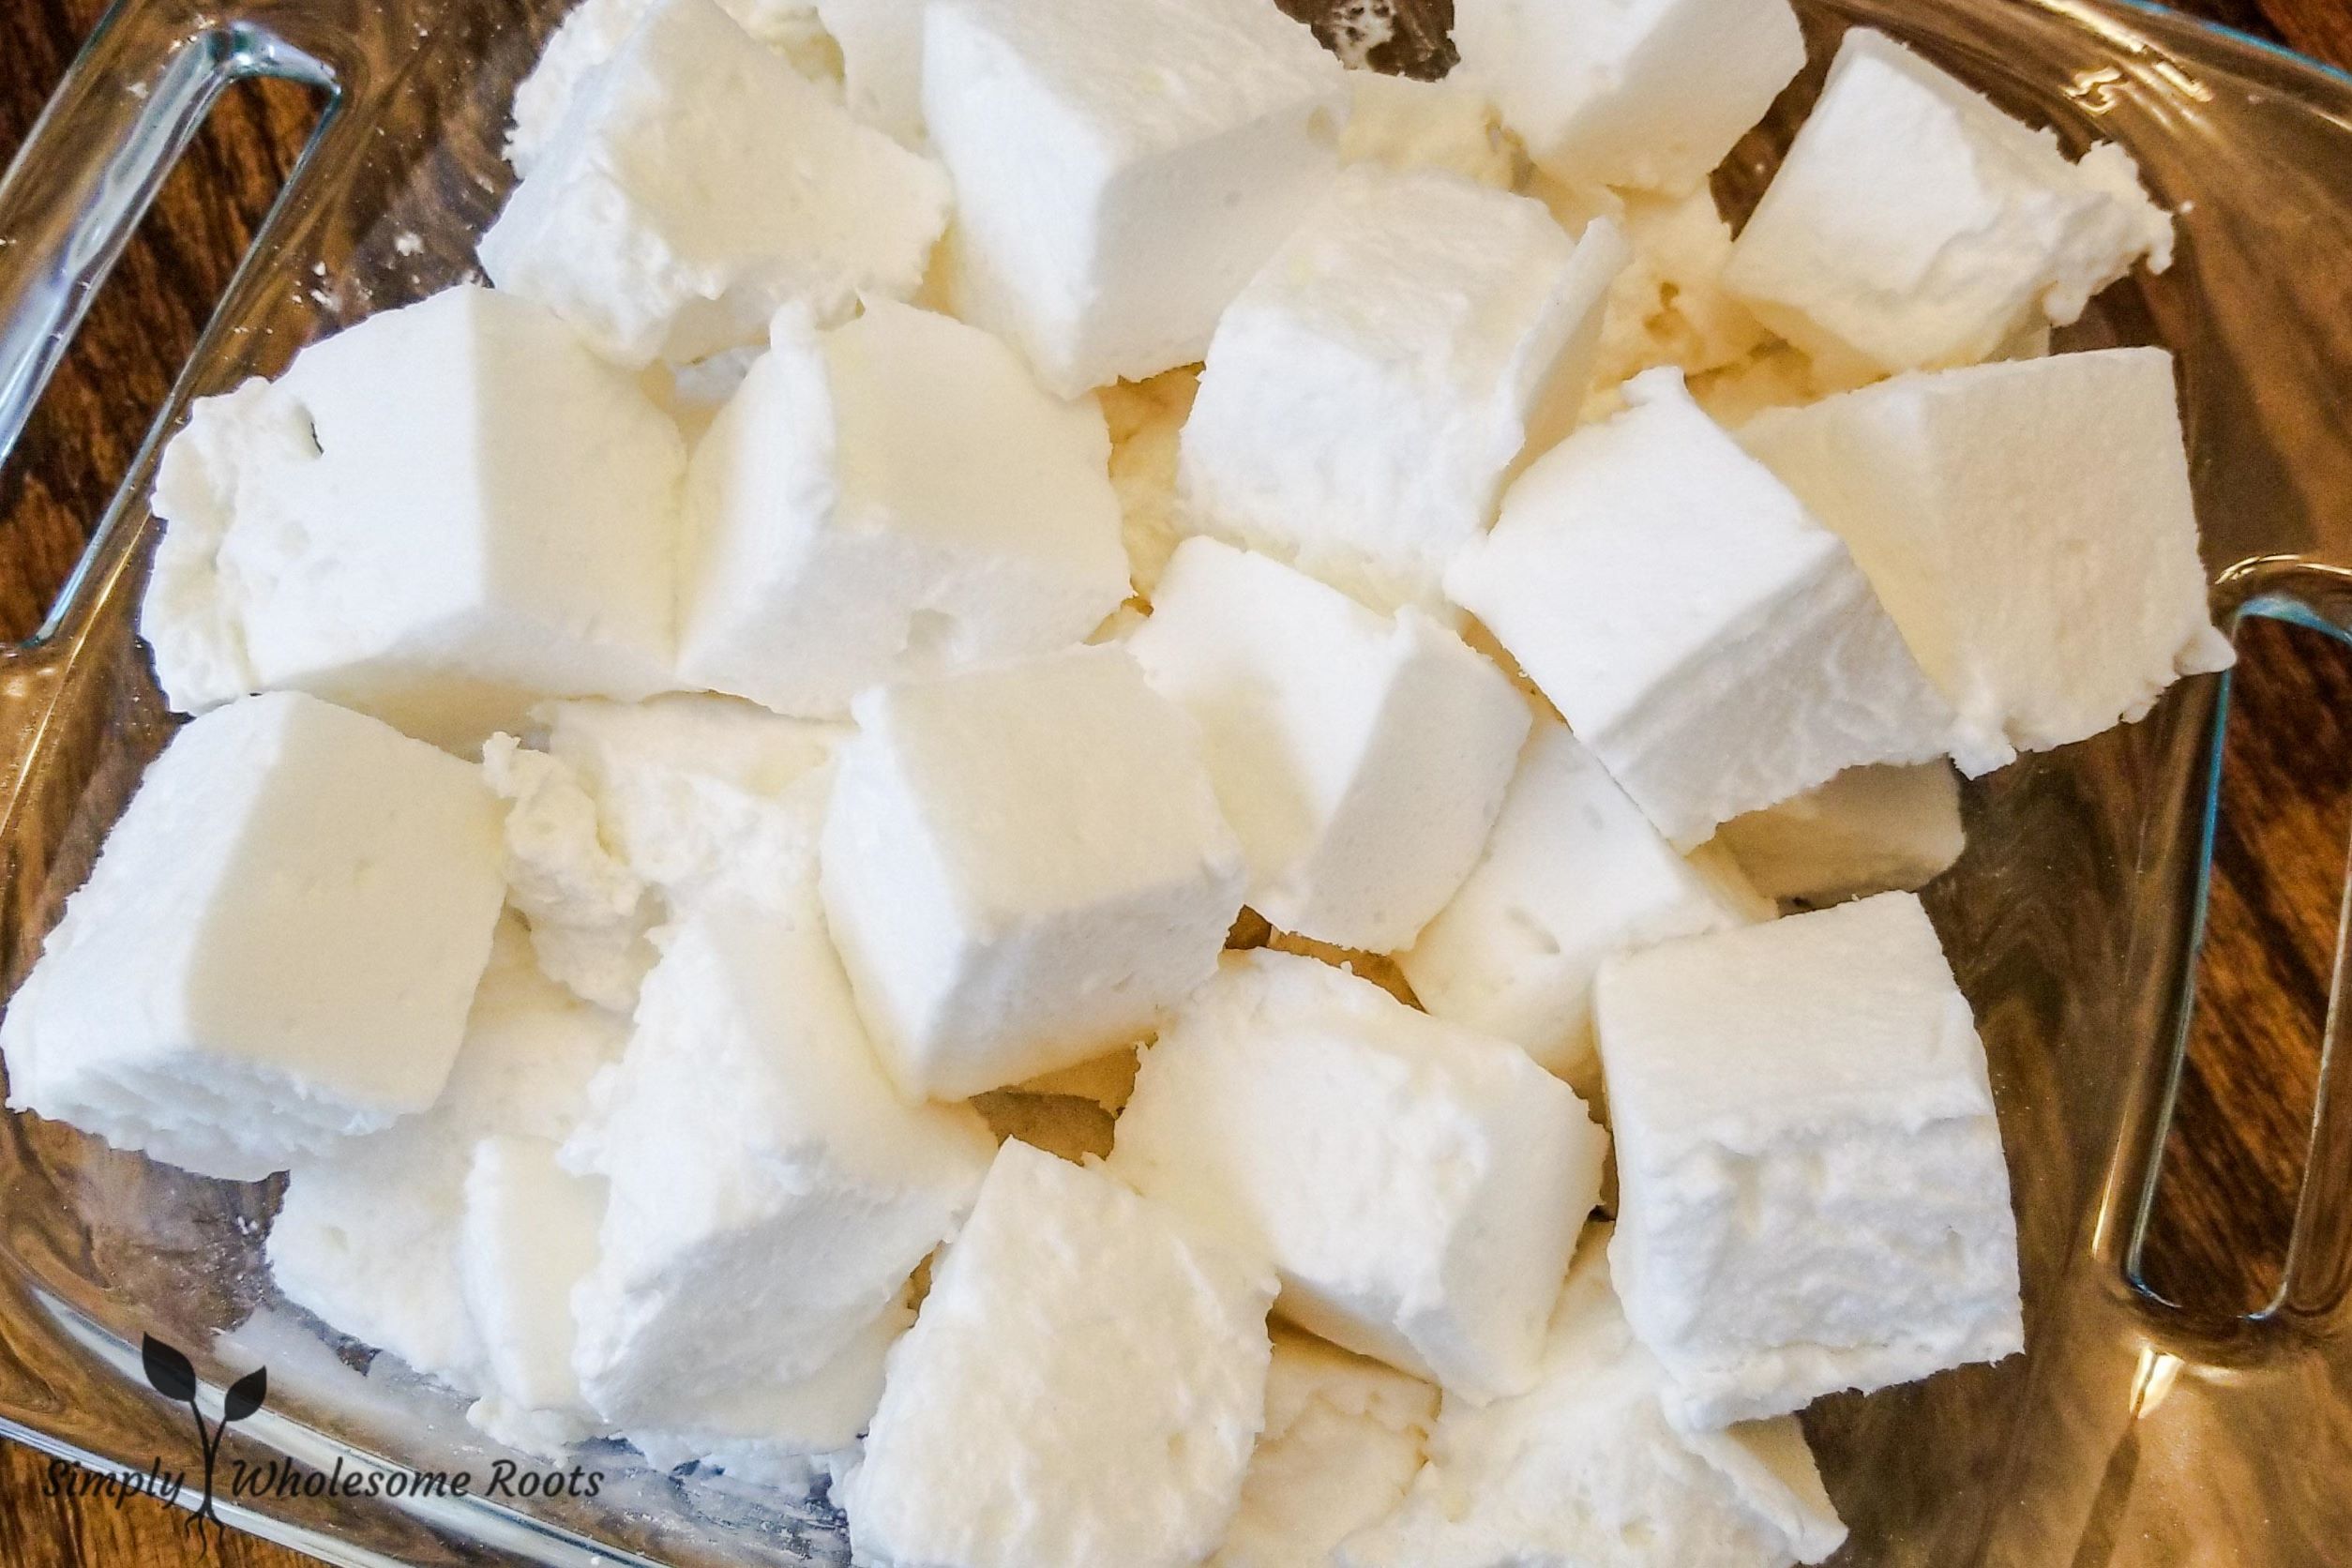
- Cut with a knife into whatever shapes and sizes you want.
- Dust with some arrowroot powder (as the marshmallows can be sticky). Or put all the marshmallows in a gallon Ziploc bag with the arrowroot powder. Close and shake the bag until they are coated in arrowroot powder. It only takes one to two tablespoons, tops.
- Store in the fridge in a Ziploc bag for up to a week.
- Note: for smores, it’s best to make these a few days ahead. The do melt faster than store bought marshmallows, so pay very close attention when you are roasting and be ready with your graham crackers! 😉
Did you make this recipe? Tag @simplywholesomeroots on Instagram and hashtag it #simplywholesomeroots
If you enjoyed this post and want more tips on how to simplify your healthy lifestyle for a wholesome, rooted home click here to join my newsletter. You will be the first to know about new posts and get access to bonus content exclusively created for my Simply Wholesome Roots community. And I have a welcome gift for you, too!

Comments are closed